Homelab/Server
I will walk you through how I set up my homelab, linked hardware, and general helpful information
Alexander El-Hage
11/23/20233 min read
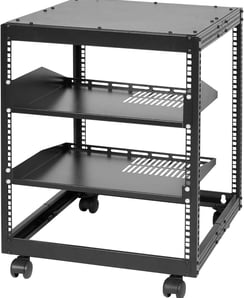
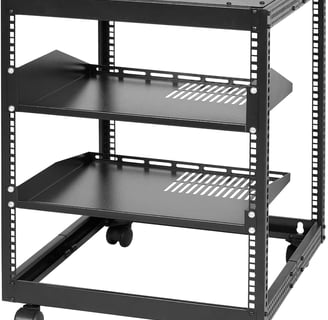
1- Server Rack
I wanted my lab to be on a single rack, not a large enterprise sized rack but something manageable for my apartment. I ended up going with a VEVOR 12U 19-inch Rack from Amazon. Assembling this rack is pretty simple and can be done in under 30 minutes if you have tools.
Setting up a homelab/server is a project that has unlimited possibilities. A lab can range from a few computers on a desk to a fully stacked rack with dozens of servers.
In this guide I will show what I built, what components I purchased, and how I did it.
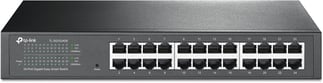
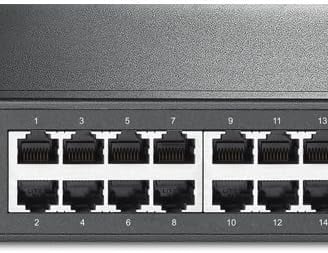
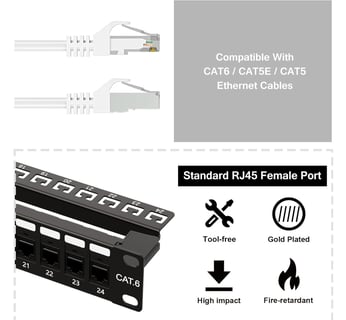
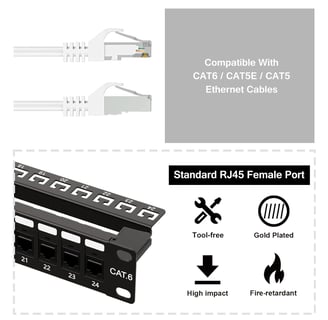
2- Patch Panel + Network Switch
The Switch I ended up going with was a TP-Link 24 port Gigabit Managed Switch. This was affordable, expansive, and a reliable choice. Installation requires attaching the mount brackets to the switch, aligning it with your rack, and fastening the bolts. I then connected my router to the switch.
To enable the amount of wired connections I wanted and keep things organized I purchased a 24 port RJ45 1U Cat6 19-inch Patch Panel. It's a simple pass-through design, female RJ45 on both sides. Installation is simple, align the panel with your rack and screw in the fastening bolts. Ethernet goes in the front and out the back.
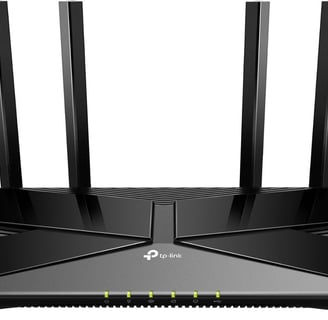
3- Basic Modem and Router
I use AT&T Fiber and the required modem/router they provide. Most modem/routers you can sign into the admin panel and set to passthrough mode so it will just function as a modem.
For my router I went with a TP-Link Archer AX20 Dual-Band Wifi 6 Router. This is a great high performance router for a home network without breaking the bank.

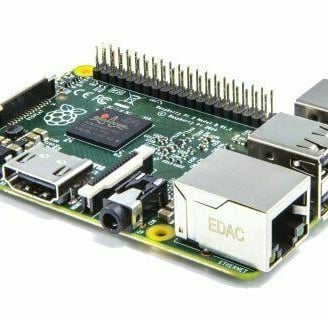
4- Raspberry Pi DNS Server
The first server I set up on my rack was the Pi-Hole server. Please see my other guide for set up details, this small computer rests on the first shelf.
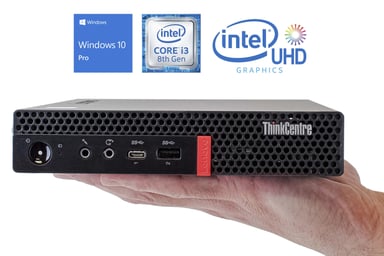
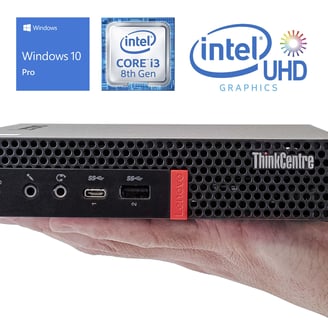
5- Mini PC Servers
For the real meat and potatoes of my lab I went with mini-pcs. While I could have built out a 2u or 3u rack server it would have cost a lot more, limited me to one physical computer, and required a lot more power. Used enterprise servers are also an option but even more expensive.
The benefit of mini pcs is that they are inexpensive, compact, and power-efficient. Mini pcs are very commonly used in enterprise IT environments as servers, jump boxes, and thin clients.
I sourced my computer from Ebay. For the Jellyfin server I was looking for a mini pc with at least an 8th gen Intel processor so I could take advantage of video transcoding.
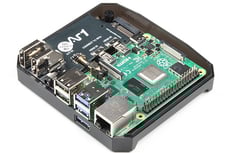
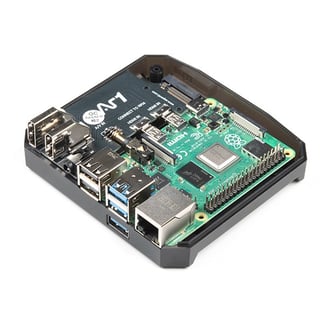
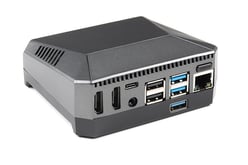
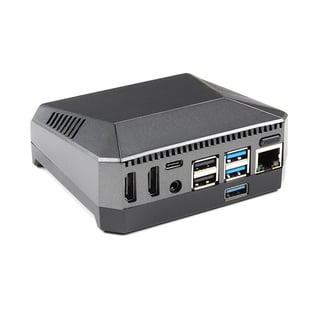
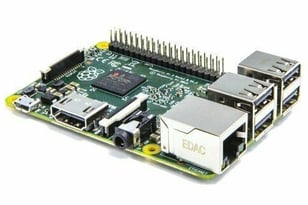
6- Raspberry Pi-4 with GUI
Lastly, I wanted to have a capable Raspberry Pi running the full Pi-OS so that I could use it for projects and learning more about Linux. I remote into this with Remote Desktop and can use it at any time.
I went with a Raspberry Pi 4 4gb with a cooling case. This sits on the rack plugged in with an ethernet cord and usb power cord.