DNS Server (Pi-Hole)
In this guide I will walk through the entire process of setting up a Raspberry Pi DNS Sinkhole Server using Pi-Hole.
Alexander El-Hage
11/23/20234 min read
Step 1) Hardware
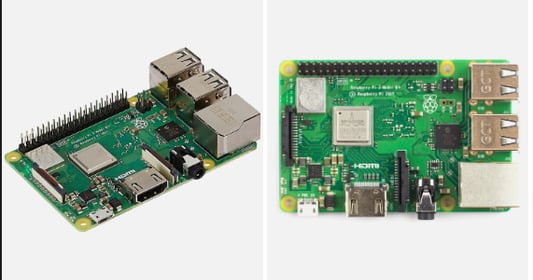
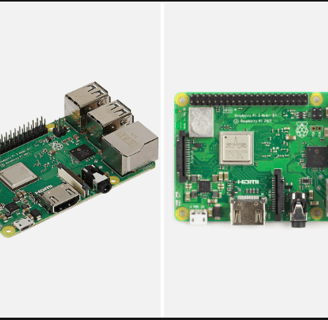
In order to set this up you will need to first acquire a Raspberry Pi. A Raspberry Pi 2 or greater will work for this service.
Raspberry Pi (2, 3, or 4)
SD Card (8gb +)
Power Cable
Ethernet Cable
Free ethernet port on router or switch
Step 2) Installing the operating system
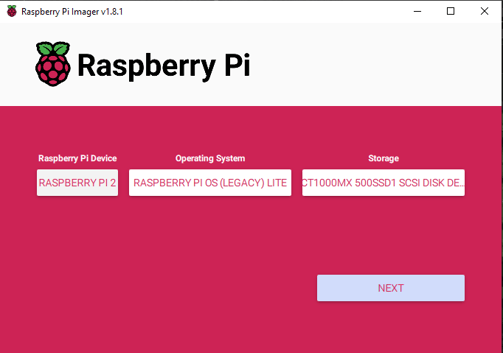
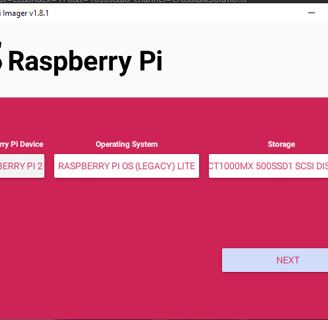
a- Download Raspberry Pi Imager (LINK HERE) and install it to your Windows computer.
b- Plug in your SD card to your computer
c- Select your Raspberry Pi Model from the menu, Select "Raspberry Pi OS (other)", then select "Raspberry Pi OS Lite (32-bit)", select your sd card from the "Choose Storage" button (MAKE 100% SURE YOU PICK THE CORRECT STORAGE DEVICE)
d- Hit Next and when it asks "Would you like to apply OS customization settings hit "Edit Settings" -> in this menu name your raspberry pi (Pi-Hole) or (DNS-Server), and then set a username and password you will remember. -> hit save. -> click yes and the install will begin (<5mins to complete)
e- Remove the SD card from your pc and insert it into the Pi, plug your Pi into power, and plug your Pi into your network via ethernet. Wait <3mins for your network to assign the device an IP address. Go to your routers admin portal and find the Raspberry Pi you named and grab its IP address.
Step 3) Remoting in to your device + updating
a- You will need to set the devices IP as static, this process varies from router to router but is usually easy to find and do, check YouTube for tutorials for your brands router.
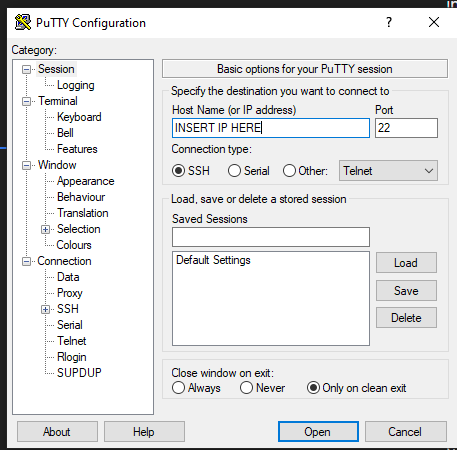
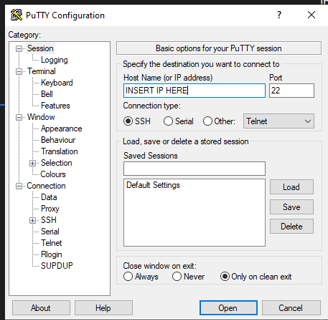
b- Download PuTTY (LINK HERE) so that we can remote into our Pi. Once downloaded and installed open the application and paste the devices IP into the selection and connect.
c- Now you should be remoted into your device, sign in with the username/password you set before. Congrats! You are now remoted into your very own raspberry pi. Start by updating the Pi (best practice) with the following commands. Restart after update. With PuTTY you can right click to paste.
Update command: sudo apt update && sudo apt upgrade -y
Reboot command: sudo reboot
i- Wait <2 mins and then remote back in using PuTTY
Step 4) installing Pi-Hole
a- Sign back in with your username/password and we are now going to install Pi-Hole. Use the command below to initiate the install.
Pi-Hole command : curl -sSL https://install.pi-hole.net | bash
b- Wait for the process to finish... once the set up prompts come up click ok/continue on them until it gets to the "Static IP Address" page. At this point you will need to verify that the IP address listed is the correct one that you set as static, if so just click continue.
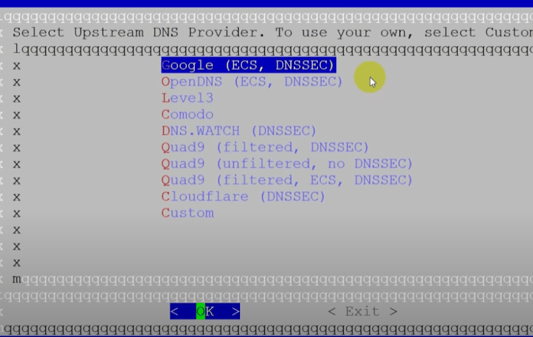
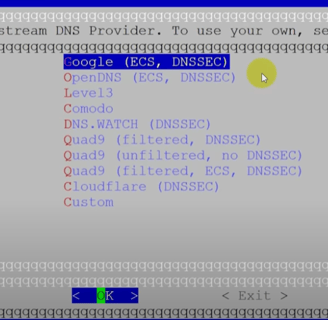
c- Click ok/continue until you get to "Select Upstream DNS Provider" at this page select google as your provider and continue. This serves as the back up to your DNS server.
d- Select yes for the StevenBlack's Unified Hosts List -> Yes to installing the admin interface, enable query logging, select show everything.... now it will install and you are done!

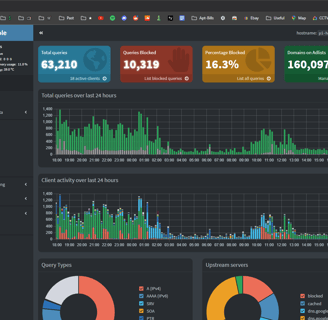
Step 5) Accessing the Pi-Hole web admin portal.
a- Now we need to set the password for the admin portal. Use the command listed below.
Change password command: pihole -a -p
Enter the password of your choosing ->
b- To access the admin portal you will need to go on your main pc and open a browser tab, go to https://INSTERT-IP-ADDRESS/admin. The IP will be the IP of your device, the same one we have been using to remote in using PuTTY.
c- Sign in with your password and log in! Congrats!
Step 6) Configuring your router to use the DNS server. Final step!
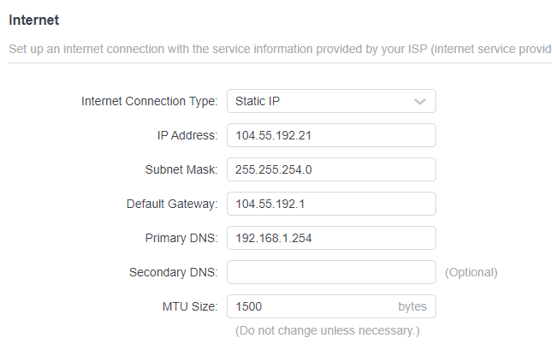
a- Log in to your routers admin portal, navigate until you find the DNS settings. You will need to put in your devices IP as the DNS server.
b- On the right you can see mine as an example. 192.168.1.254 is the IP address of my raspberry pi.
c- Save your changes and wait a few minutes.
d- Test it! Open a new tab on your pc to test that the majority of ads are being blocked.
https://www.speedtest.net/ is a great website to test, normally there will be ads all over the screen, if you did everything correctly you should see no ads!
CONGRATULATIONS... you successfully set up your very own DNS Sinkhole Server.